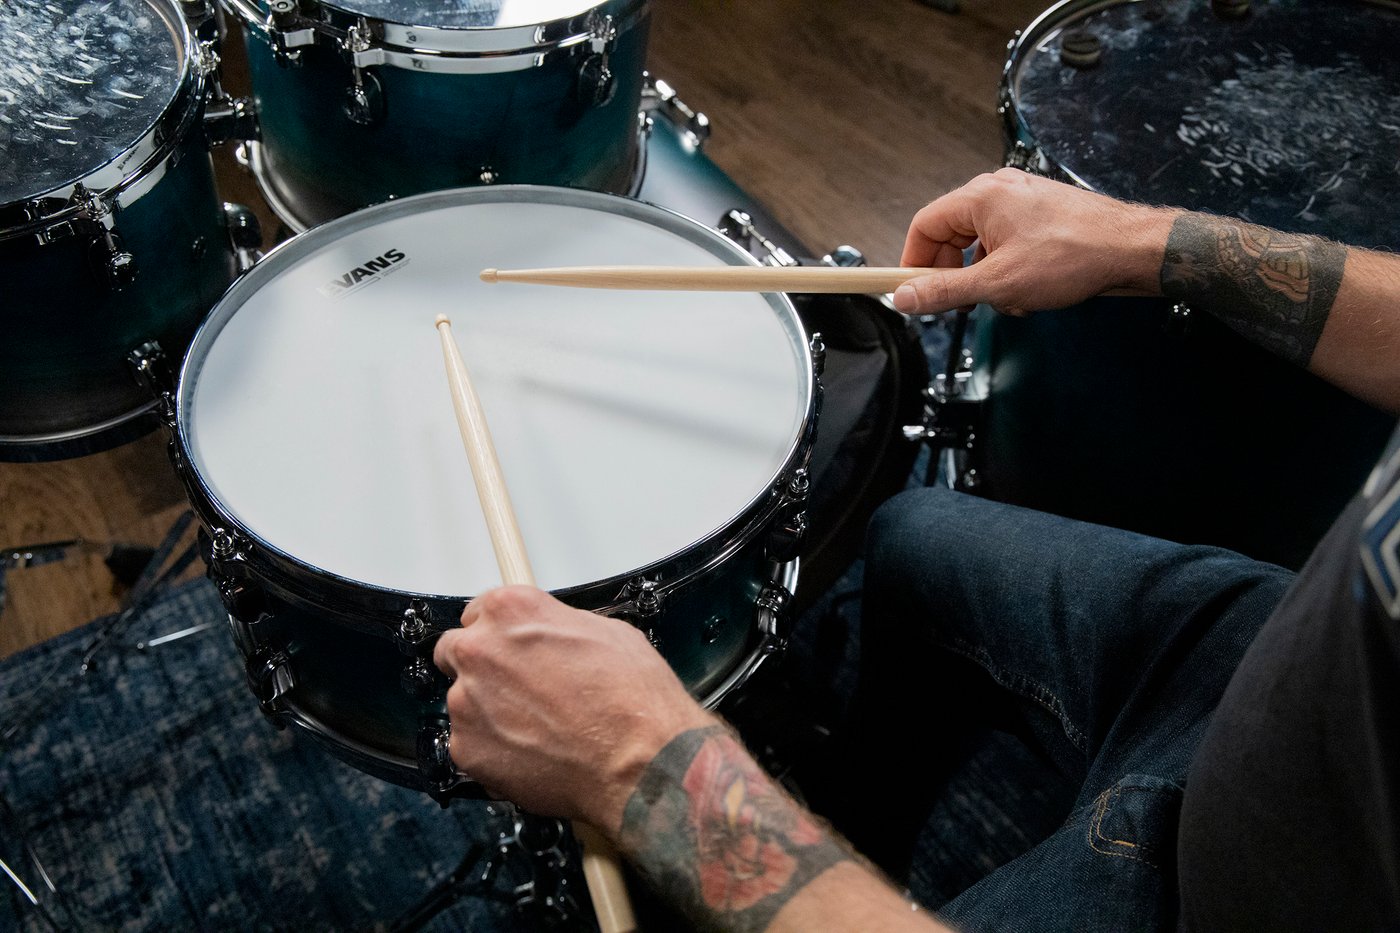
In this quick video, you’ll learn how to hold your drumsticks using matched grip.
Before we get into it, make yourself aware of your body’s position. As you move around the kit, you might naturally turn your hand(s) a bit, which is normal. Feel free to make adjustments if you need to.
Once you know how to hold them, learn all about the different types of drumsticks.
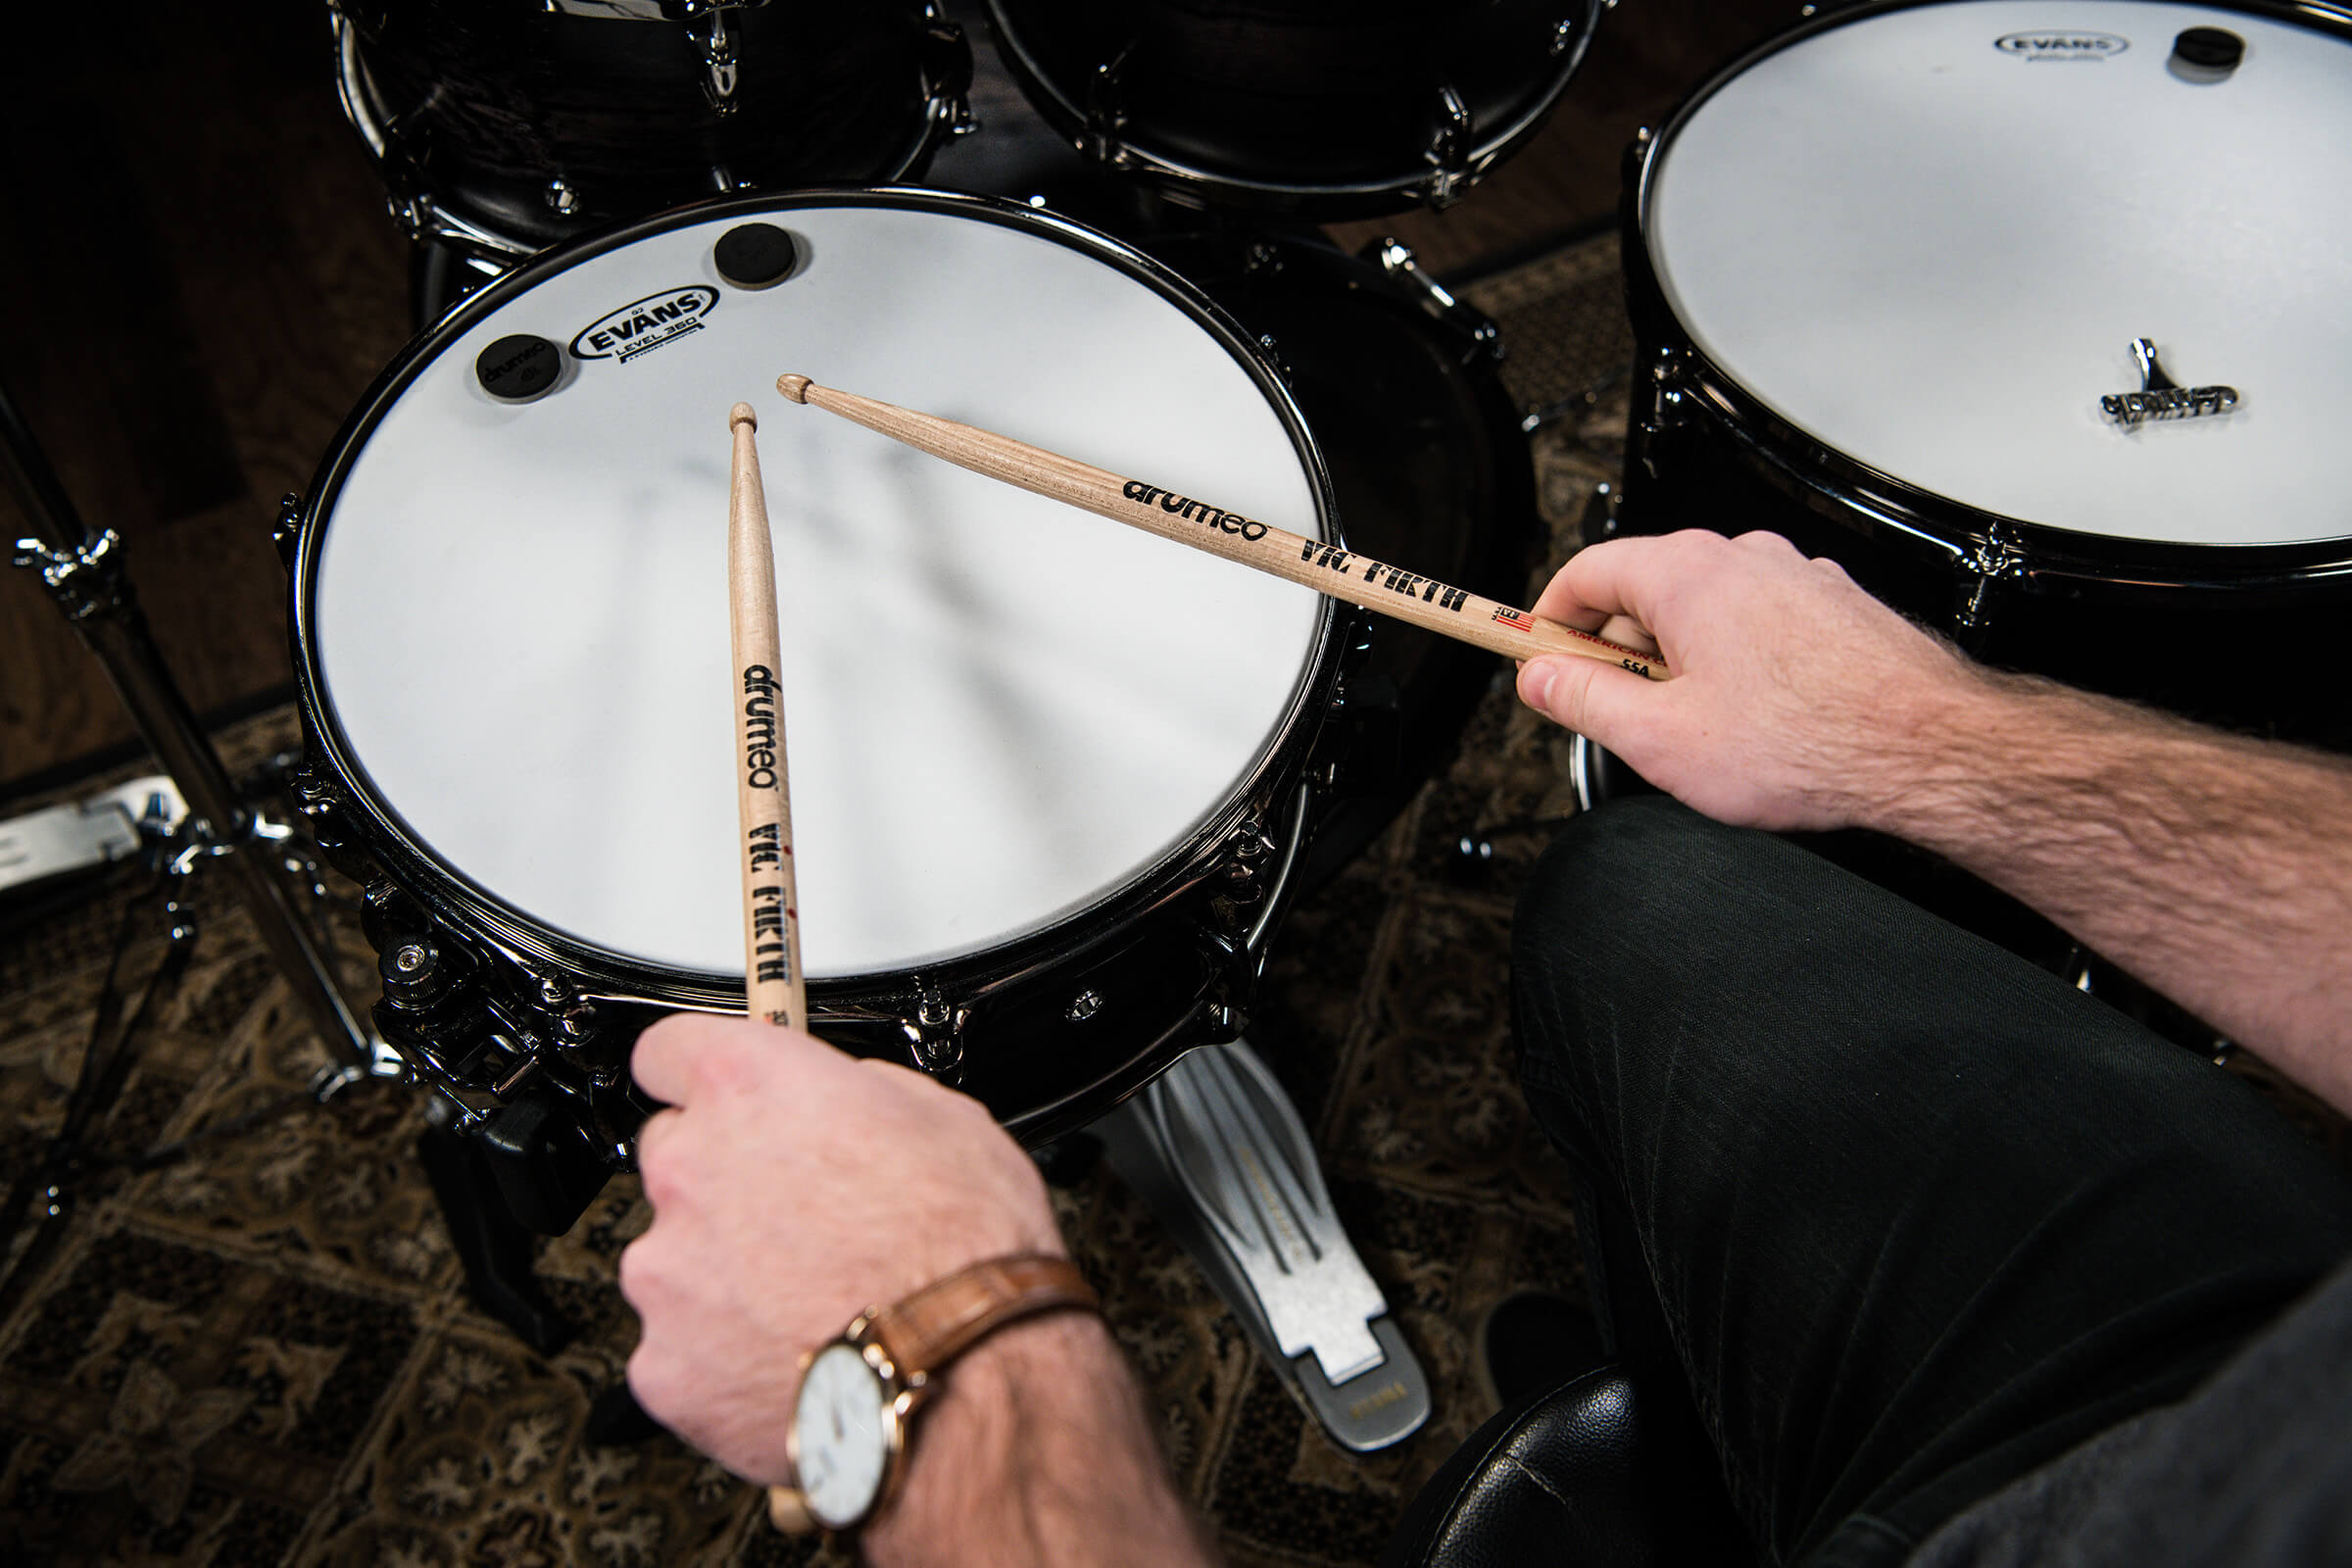
To hold drumsticks in German grip, face your palms down. This grip is useful when you want a lot of power in each hit.
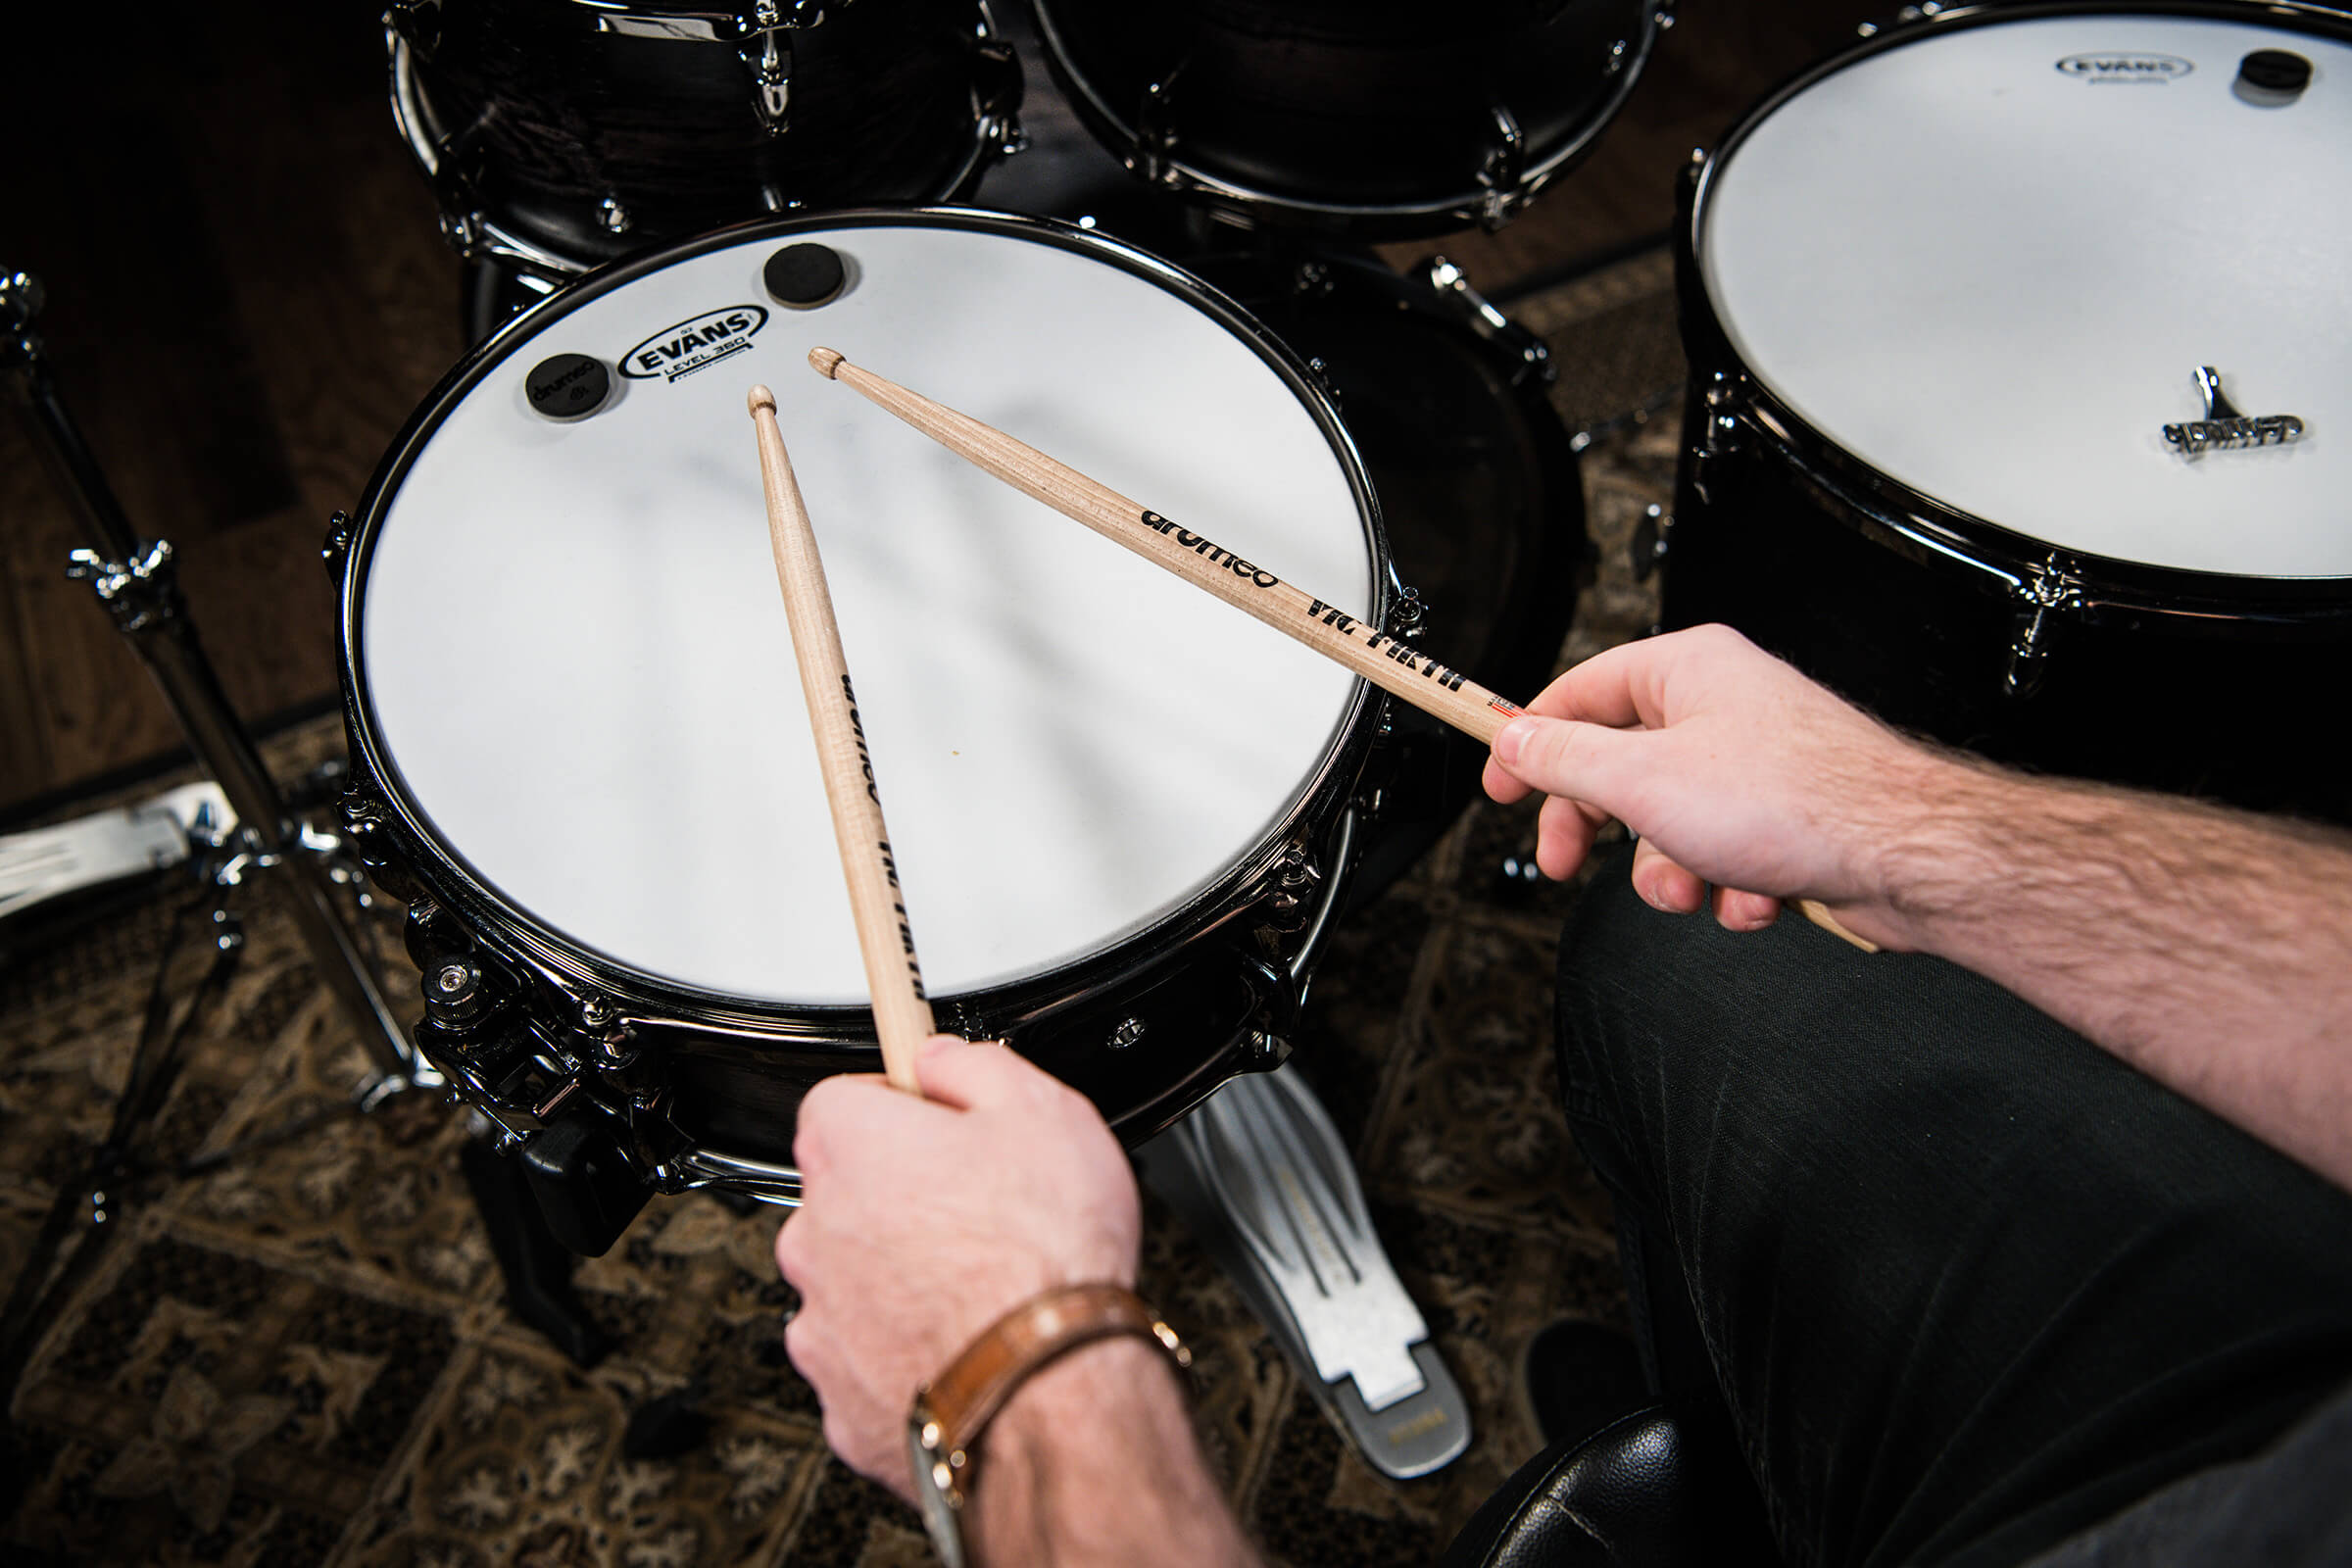
Turn your hands up slightly when playing in American grip. This is the most popular grip for most styles of drumming and a good ‘base’ position to use.
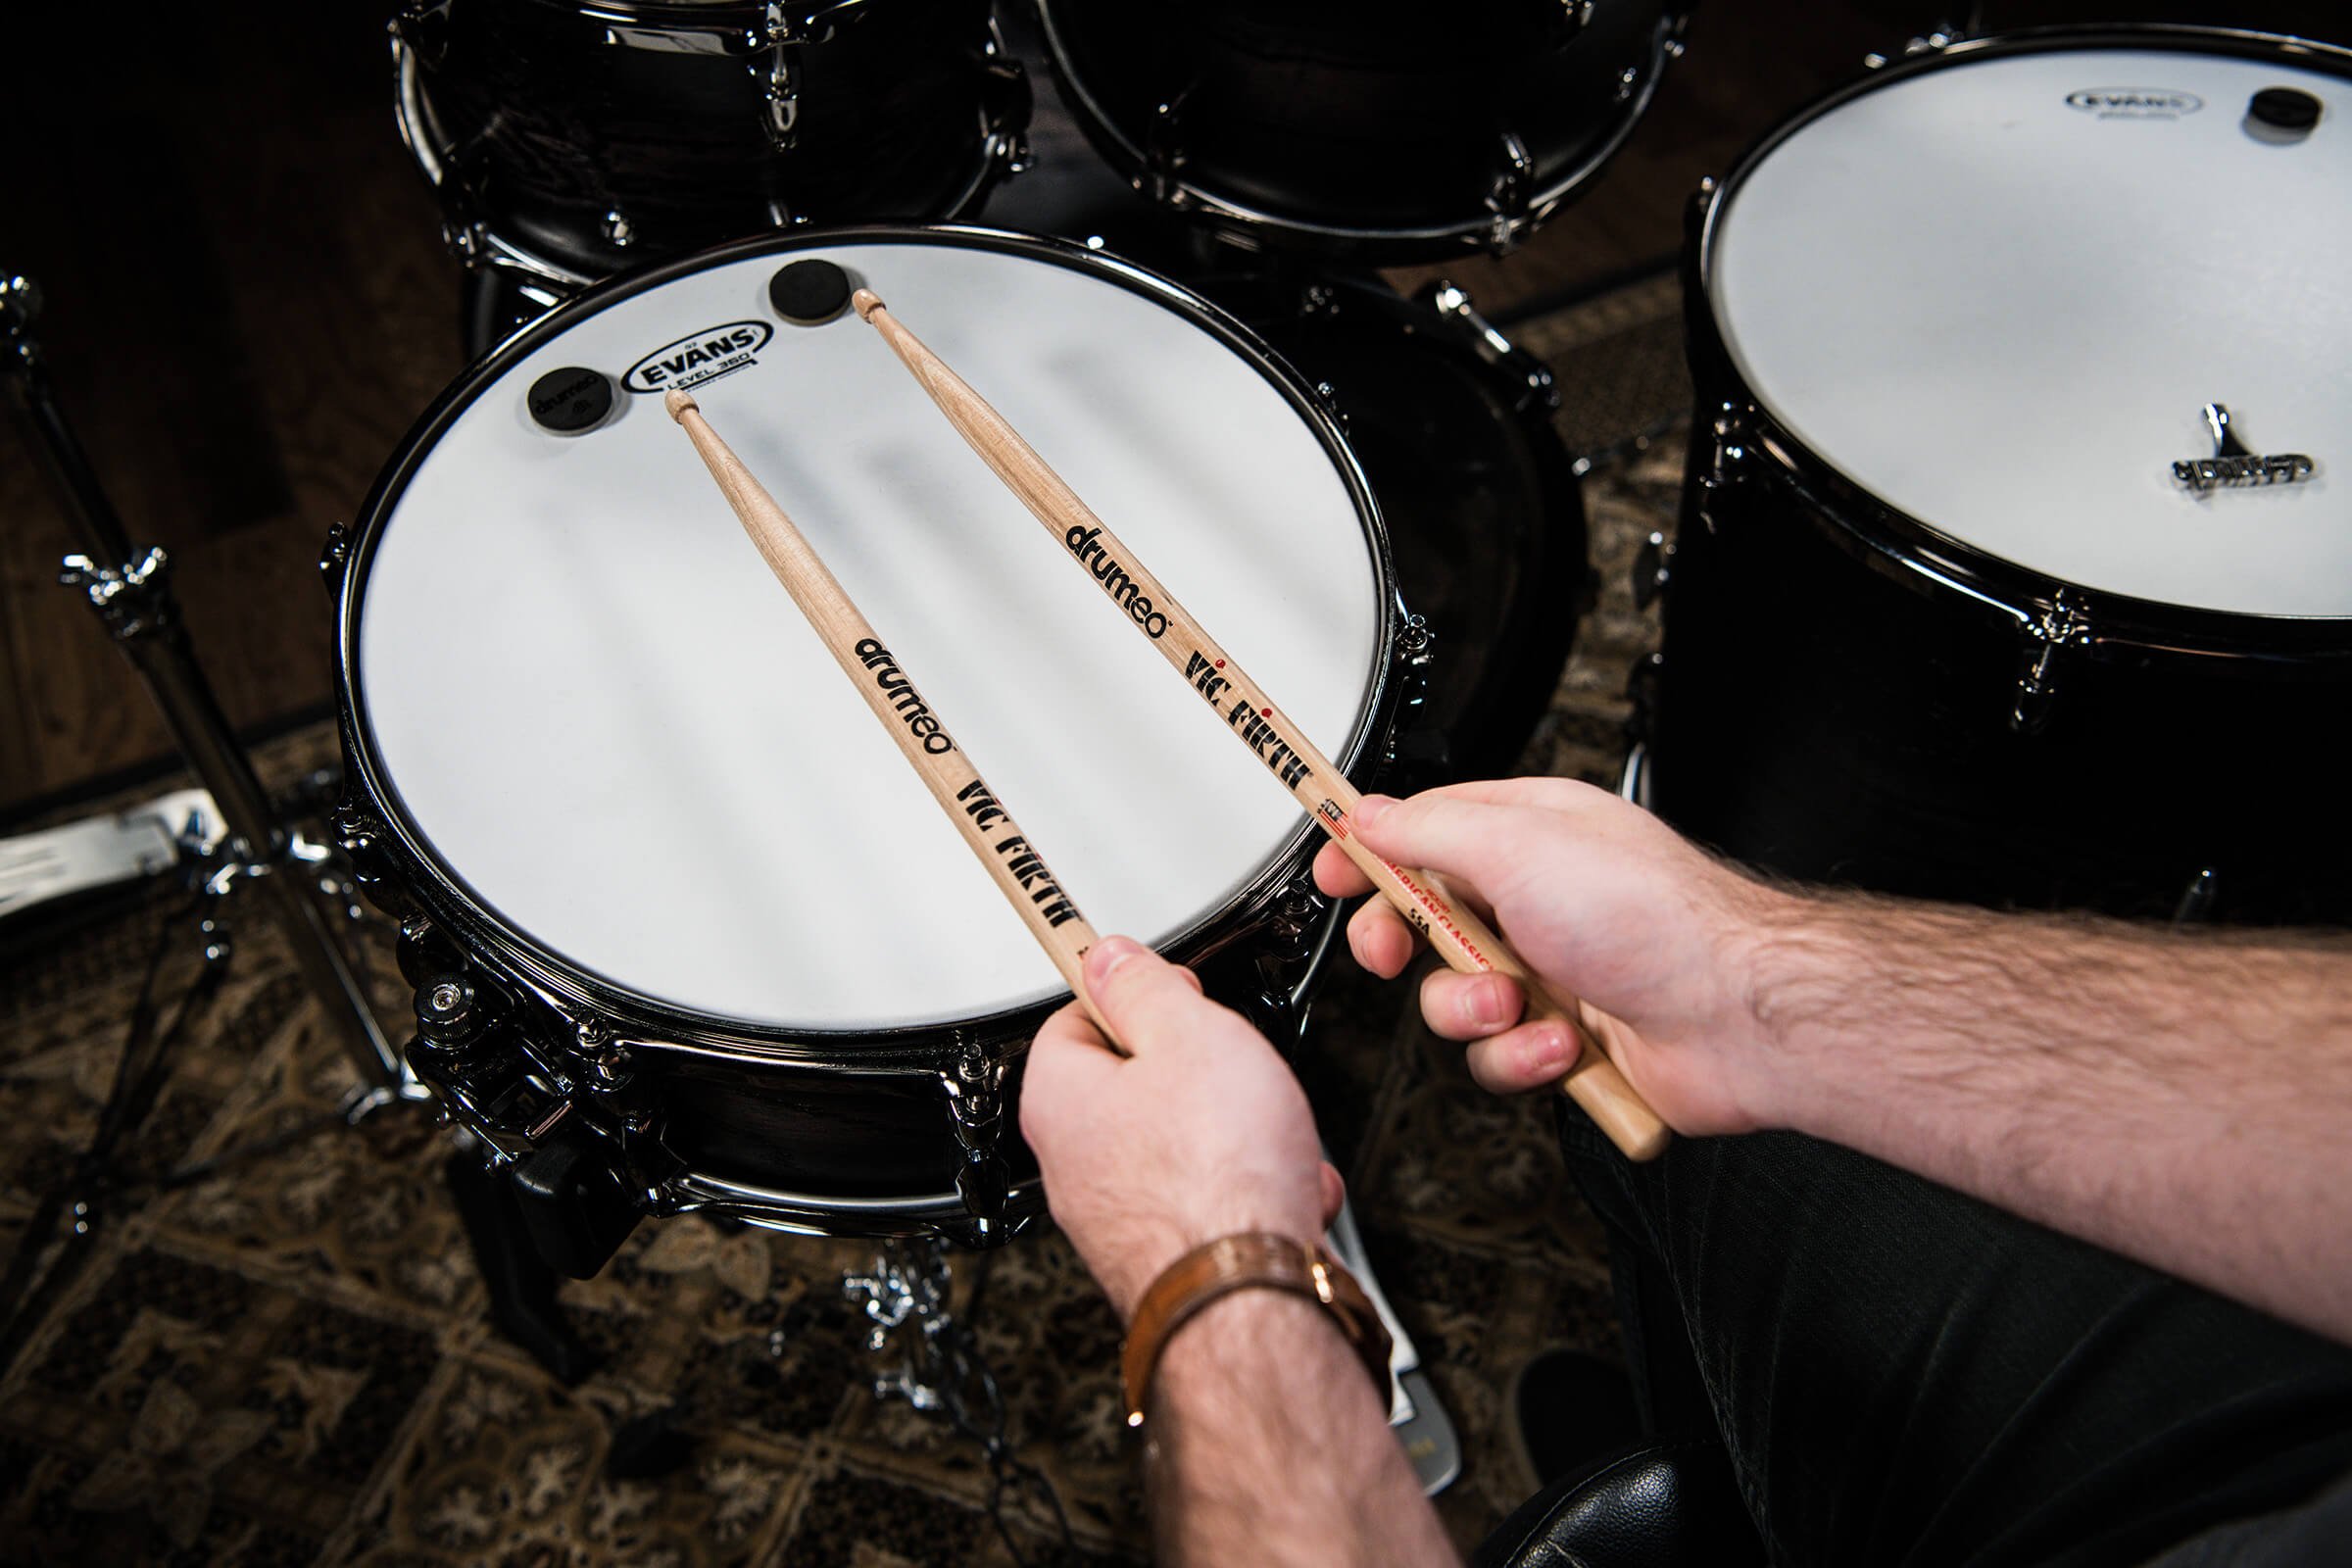
Thumbs up for French grip! This hand position is good for intricate, controlled drumming, or a softer stroke.
It’s important to hold your sticks in a way that feels natural. If you grip too tightly or force your hands into an odd position, you might cause an injury, or develop bad habits that can lead to injury. Good stick grip will give you more freedom and fluidity around the drum set – and will help your drumming sound even better.
Every drummer has their own technique that works best for them. Every drummer on Drumeo uses their own grip, and will teach you how to hold drumsticks in slightly different ways. In this video, you’ll learn how Jared Falk does it.
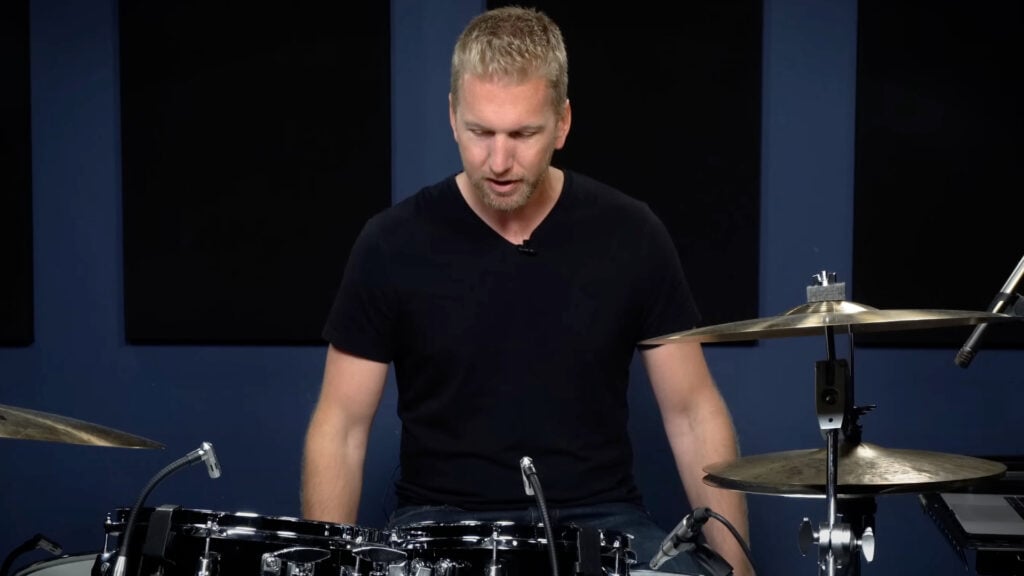
Start by finding your natural hand position by dropping your hands down by your sides and letting them dangle. Everyone’s natural hand position will be different, so don’t worry if yours doesn’t look like someone else’s.
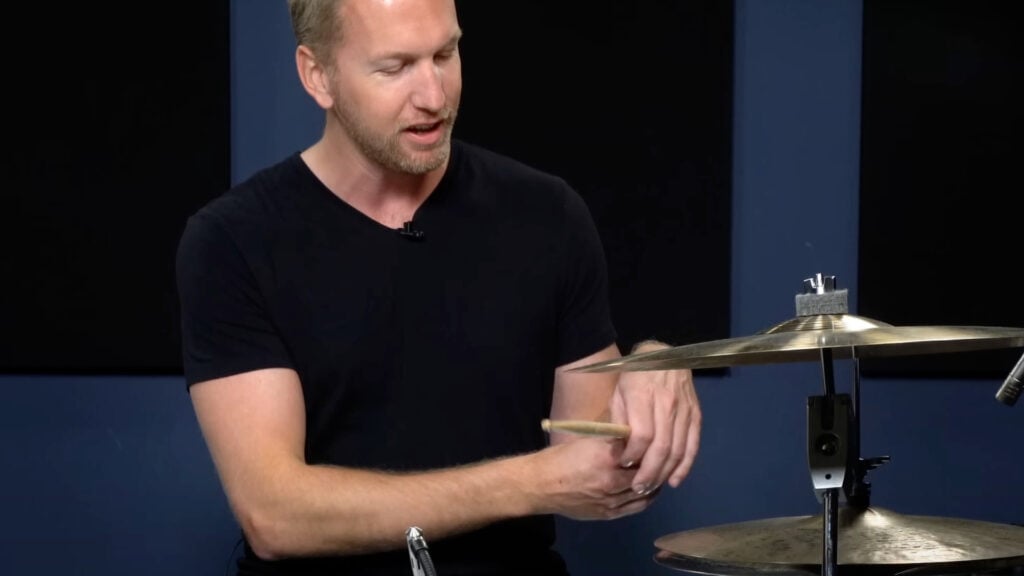
Bring your hands up while keeping them relaxed. With one hand, grab one of your drumsticks and place it in the other dangling hand.
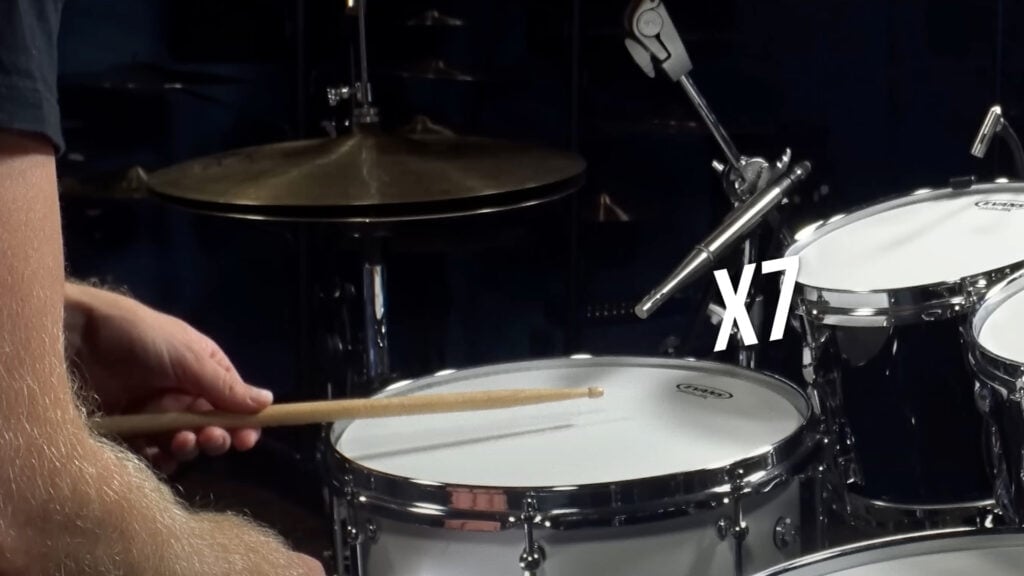
Next, we need to find the stick’s fulcrum, which is the point where the stick balances on your fingers. The aim here is to find where the stick receives the most natural rebound. Drop the stick onto a snare drum and count the number of bounces you get. Try different positions on the stick to find the position that gives you the most rebound and feels comfortable for you.
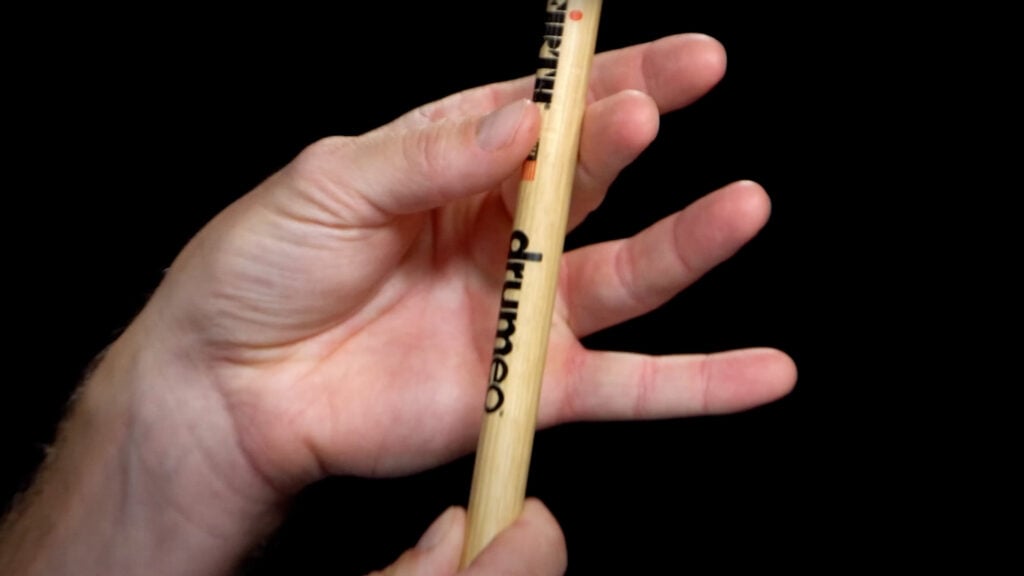
You can choose between different fulcrums depending on your personal preference. This includes using a middle finger fulcrum while your index finger acts as a guide, a combination fulcrum using both your index and middle finger equally, or an index finger-only fulcrum.
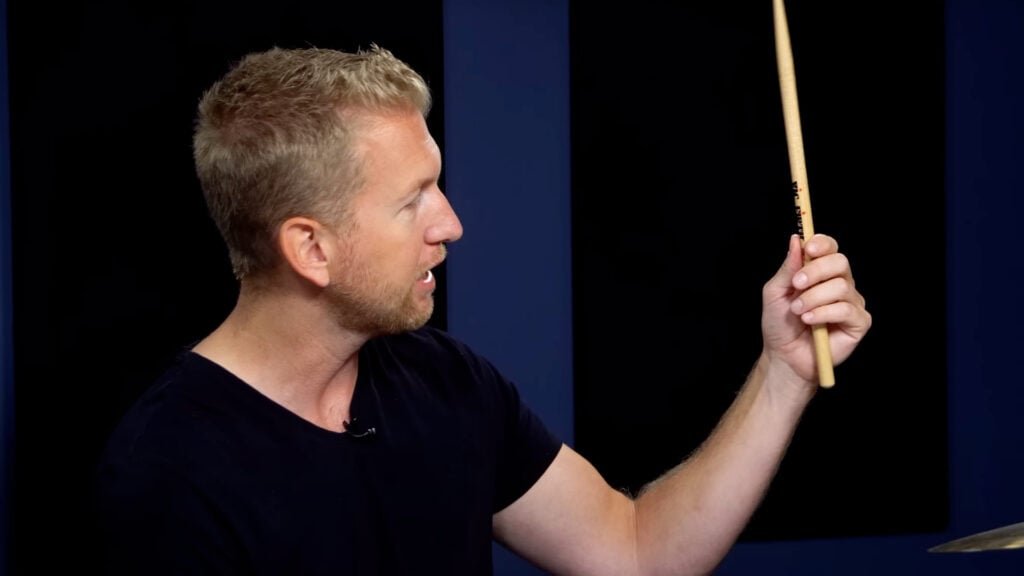
Hold the stick firmly, but not too tightly. Your grip should be loose enough to allow for some movement and flexibility. Some teachers suggest leaving enough space between the stick and your hand to slide another drumstick through, however, playing the drums is very physical, and the stick is going to move around as you play. We suggest simply lining the stick up with the fleshy part of your hand while making sure there is at least some space between the stick and the rest of your hand.
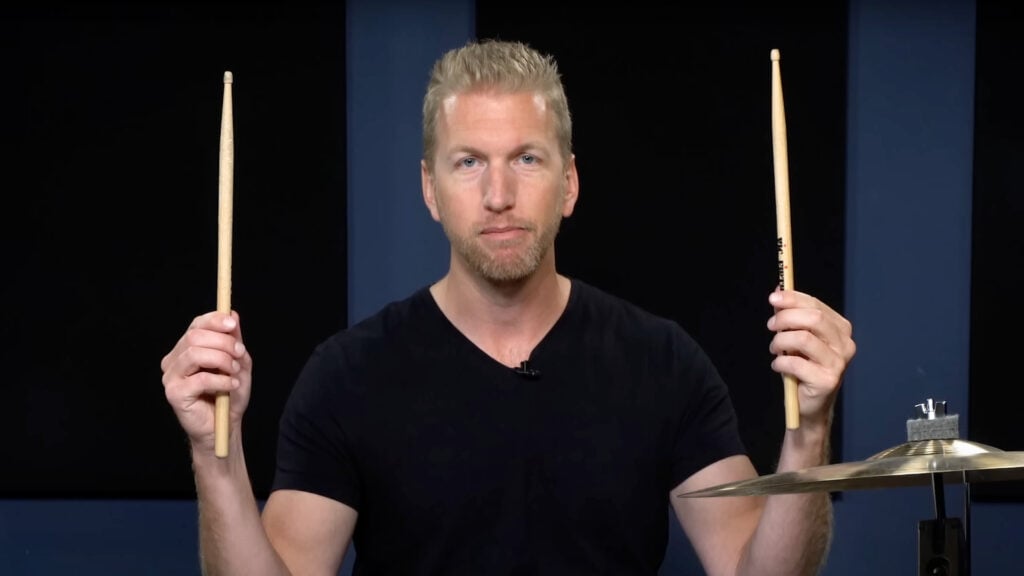
Make this a matched grip by repeating the process with your other hand.
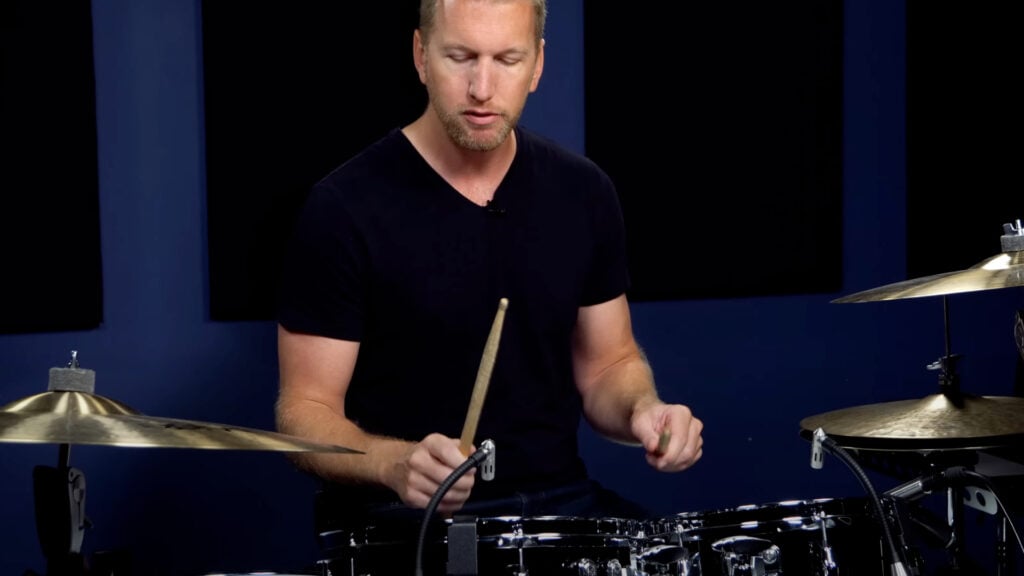
Practice playing around the kit and experiment with different positions until you find the grip that feels the most natural and comfortable for you.
Playing drums means a lot of repetition. The sooner you can develop good technique, the lower your risk of injury. Holding drumsticks is easier than it looks, and it’s different for each drummer, so give this a try and see what’s most comfortable for you.
Want to learn how to play drums? Get the full step-by-step guide here!


By signing up you’ll also receive our ongoing free lessons and special offers. Don’t worry, we value your privacy and you can unsubscribe at any time.
We use cookies for traffic data and advertising. Cookie Policy »