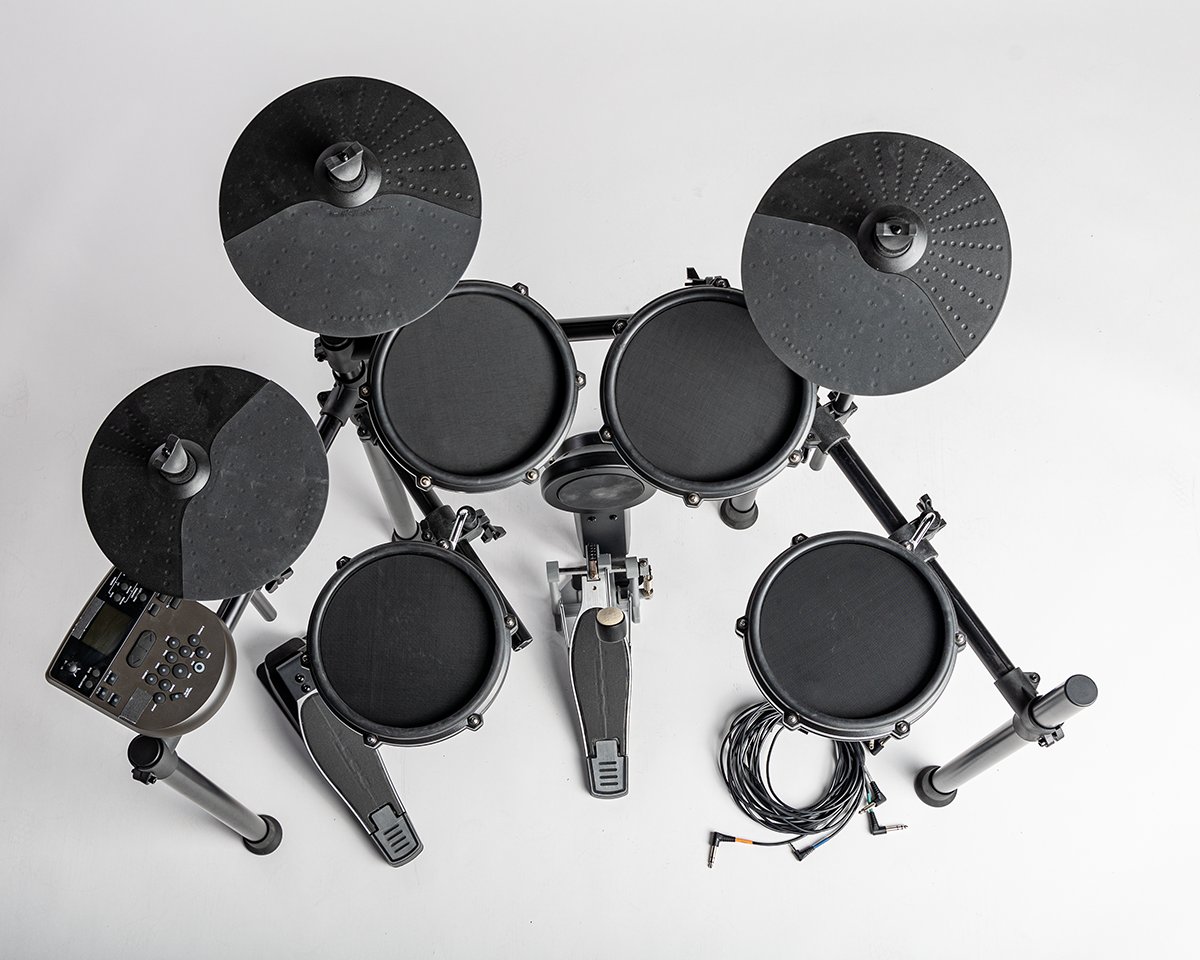
If you’ve ever wondered why you can’t just drum your heart out at 3 AM without annoying your entire neighborhood, well – you can.
With an electronic drum kit.
These modern drums use touch-sensitive pads that trigger a sound sample when you hit them, which means you just need a pair of headphones to enjoy jamming out. They’re easy to set up and don’t require as much space as acoustic drums – another big win for apartment-dwellers.
In this quick how-to guide, we’ll show you how to set up electronic drums like a tech-savvy rockstar – no soundproofing required.
Exact instructions are unique to each model (so read the user guide, damnit!) but most electronic drum kits have a similar setup – and we’re here to walk you through the basic process.
It may look like a lot of pieces, but the rack is surprisingly simple to set up.
Loosen and tighten the wing nuts to expand the rack pieces and/or connect them together. Make sure the rack can stand on its own and that you position it around where you’ll be sitting. It should frame you like a cage!
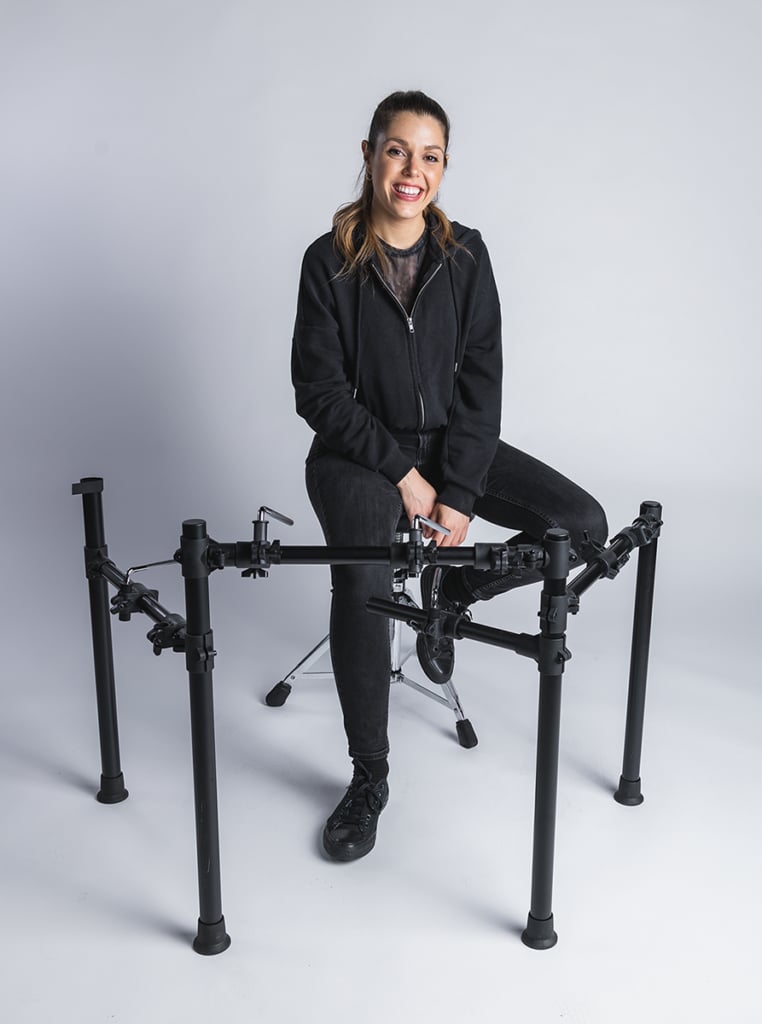
Even though electronic drums are very quiet, it’s still a good idea to build the kit on a thick carpet or mat to absorb any vibrations or thumping from your kick.
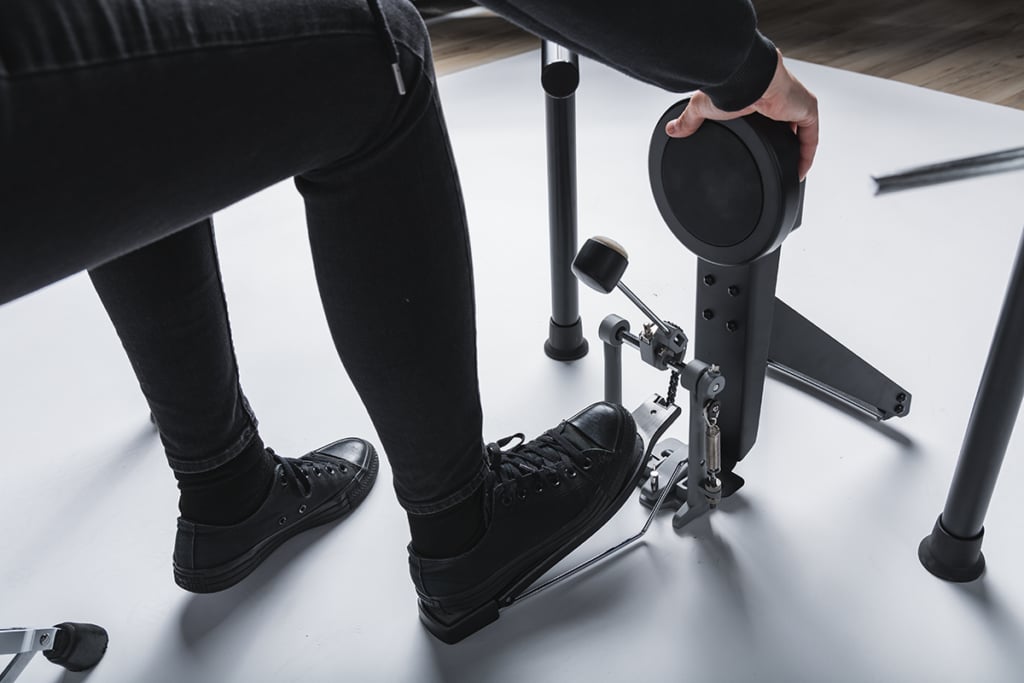
If your e-kit comes with a kick tower, set it in front of your right foot and clamp your bass drum pedal onto the bottom. Make sure that your leg can rest at slightly more than a 90 degree angle.
If your kit includes a hi-hat pedal, set that up so your left foot can access it just as easily.
Now add the pads to the rack. If they’re too high or low for you to comfortably strike them, you can make big adjustments by moving the top rack bar up or down.
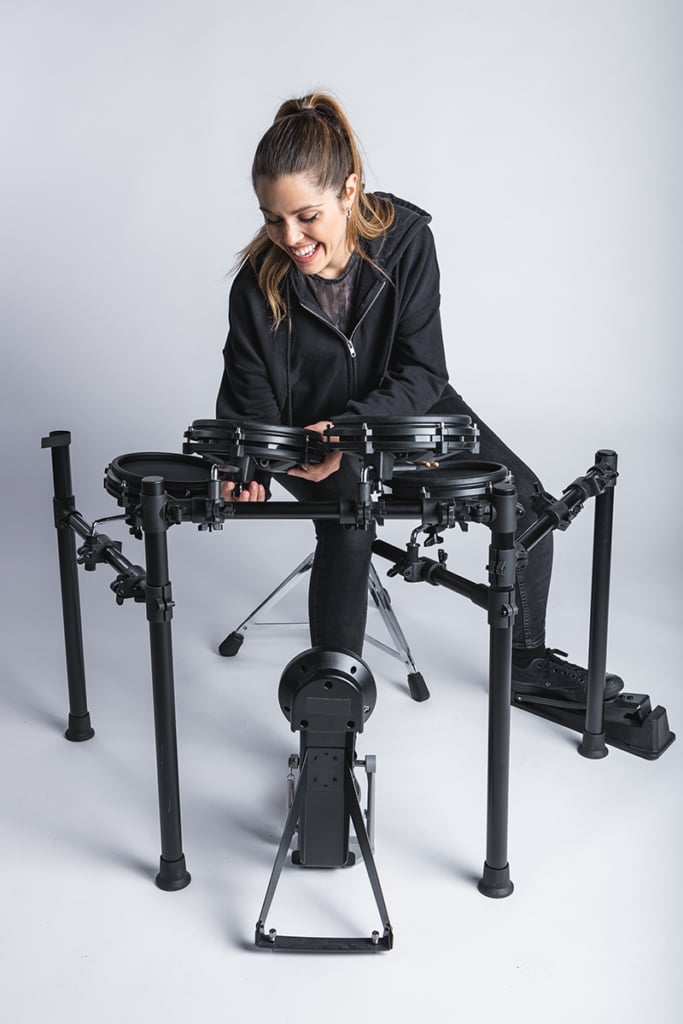
Everything should be within easy reach – and this is actually one big advantage of electronic drum kits. The pads are typically smaller than acoustic drums, so it’s easier to condense your setup.
Twist off the cymbal toppers, add the cymbals, then replace the toppers. If the kit didn’t come with a hi-hat stand or a bar for the hi-hat pad, you might need to add your own.
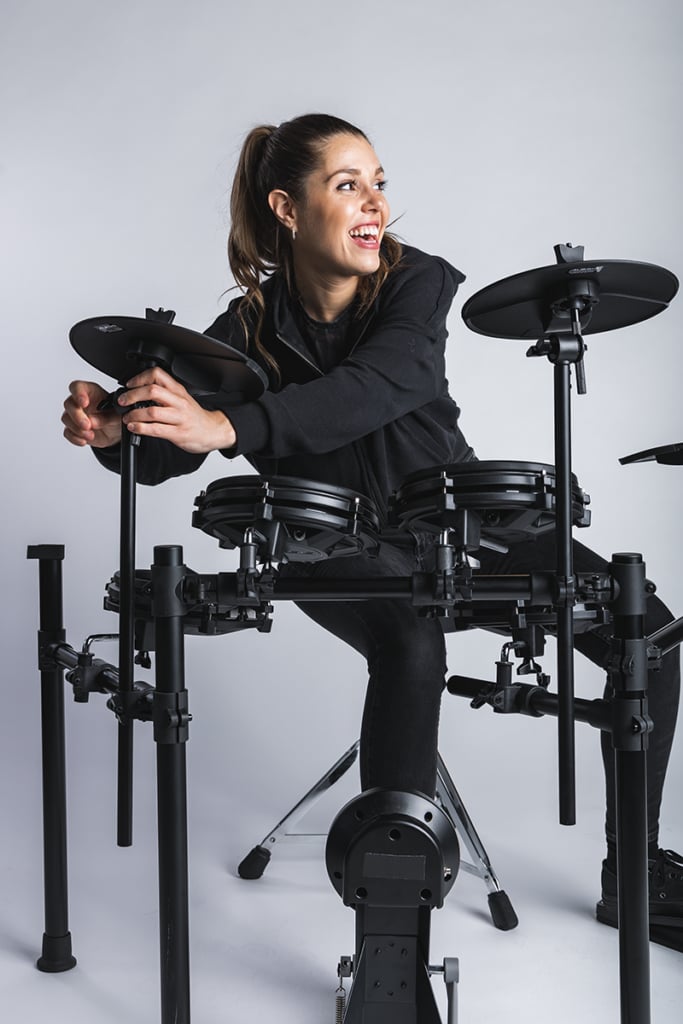
Just like your tom and snare pads, make sure the cymbals are within reach. If you’ve ever set up an acoustic drum kit, the same rules of ergonomics apply when setting up an e-kit. You shouldn’t have to strain your arms or legs to play!
Connect the module (a computer interface sometimes known as a ‘brain’) to a spot on the rack where you can easily see and reach it. Most drummers keep it on their left side.
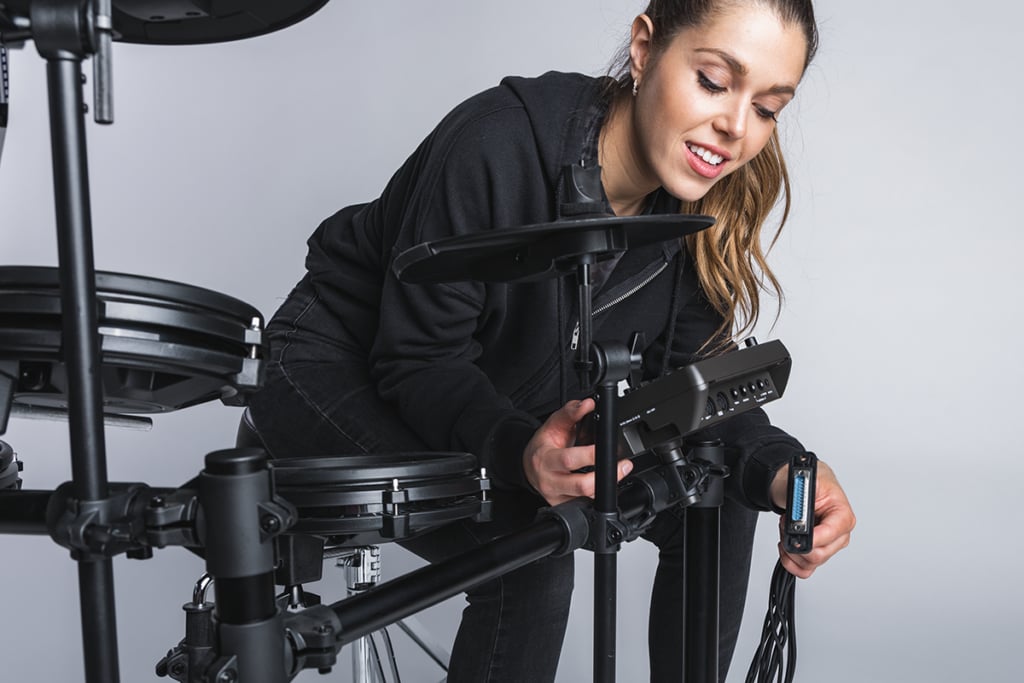
Follow your e-kit’s instructions and make sure each labeled cable is connected to the right piece. Then plug the other end of the cables into the brain.
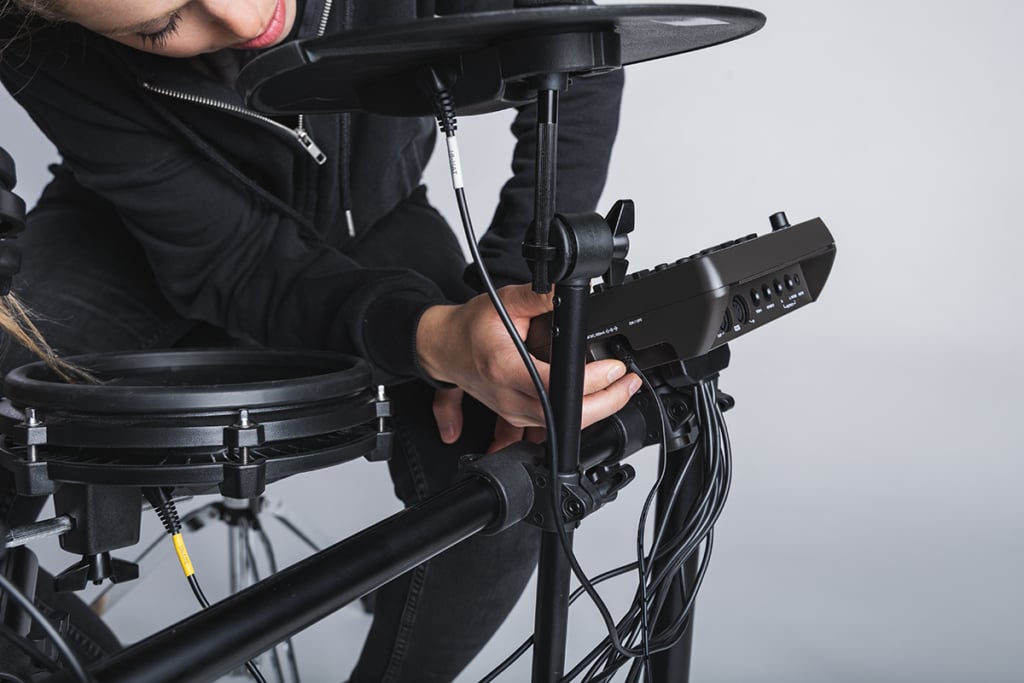
Your product’s user guide will tell you about all the useful settings that come with your e-kit and how to use features like the built-in metronome, sound samples, practice tools and more.
You’ll likely have the option to adjust pad sensitivity (how hard or light you have to hit to trigger the sound), so play around with this if the default settings don’t work for your playing style.
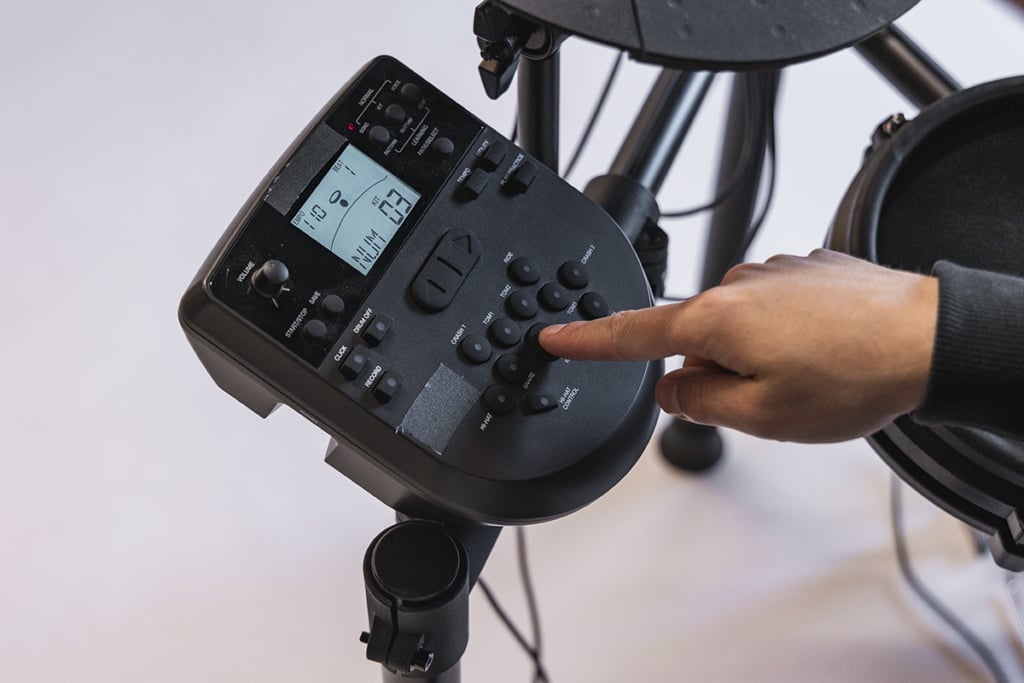
Setting up electronic drums can take time if you’ve never done it before. And you might have to do it a number of times before you get faster. It also might take multiple tries before you figure out what’s comfortable for you.
But what matters first and foremost is having that drum kit in front of you. Once it’s ready to play, play away!
Samantha Landa currently drums with Conquer Divide and has been featured by outlets such as Sick Drummer Magazine and DRUM! Magazine. Sam proudly endorses Mapex Drums, Sabian Cymbals, Evans Drumheads and Los Cabos Drumsticks.


By signing up you’ll also receive our ongoing free lessons and special offers. Don’t worry, we value your privacy and you can unsubscribe at any time.
We use cookies for traffic data and advertising. Cookie Policy »